Thursday, August 14, 2014

Easy DIY Elsa's Dress (Frozen)

Here's my attempt at Elsa's dress for my daughter. This DIY is for those who do not have sewing skills like me--and has a little girl who keeps asking for an Elsa dress. It's not perfect but your little one will look so cute with her hair all braided and singing "Let It Go" in her own little Elsa dress.

Got fabric from Joann's fabric store.  Both fabrics used do not fringe so all I needed to do was cut and sew. Also both fabrics were light weight and elastic--flowy and comfortable. The see-through white fabric felt and looks like those that they used to sew under skirt slips-- it's soft and not scratchy like the other see through materials.


Dress--it's just a tube dress:
1. Cut a rectangle to make a dress to fit your little one.
2. Fold about .5 - 1 inch on top of the rectangle and sew straight line across --leaving enough space in between to fit your rubber band.
3. Cut two triangles and sew to make straps for shoulder (note that the tip of the triangle is sewn to the back, while the base of the triangle is sewn to the front).
4. Attached the cape to the tube dress.

Voila!!!
I didn't capture the process with my camera and I know my directions may be hard to follow so ask questions in the comment section if needed and I'll clarify.  But if you're like me, I never follow directions. I just look at the picture and improvise. Have fun!!!! Would love to see everyone's Elsa dress for their little one.






Thursday, August 7, 2014

Chicken and Cabbage Stir Fry --Easy Meal for Kids

1. Heat pan with olive oil, than add sliced yellow onions.
2. When onions soften, stir in sliced cabbage and add salt to taste.
3. When cabbage softens, stir in sliced cooked chicken (I use store bought roasted chicken--to limit my time at cooking).
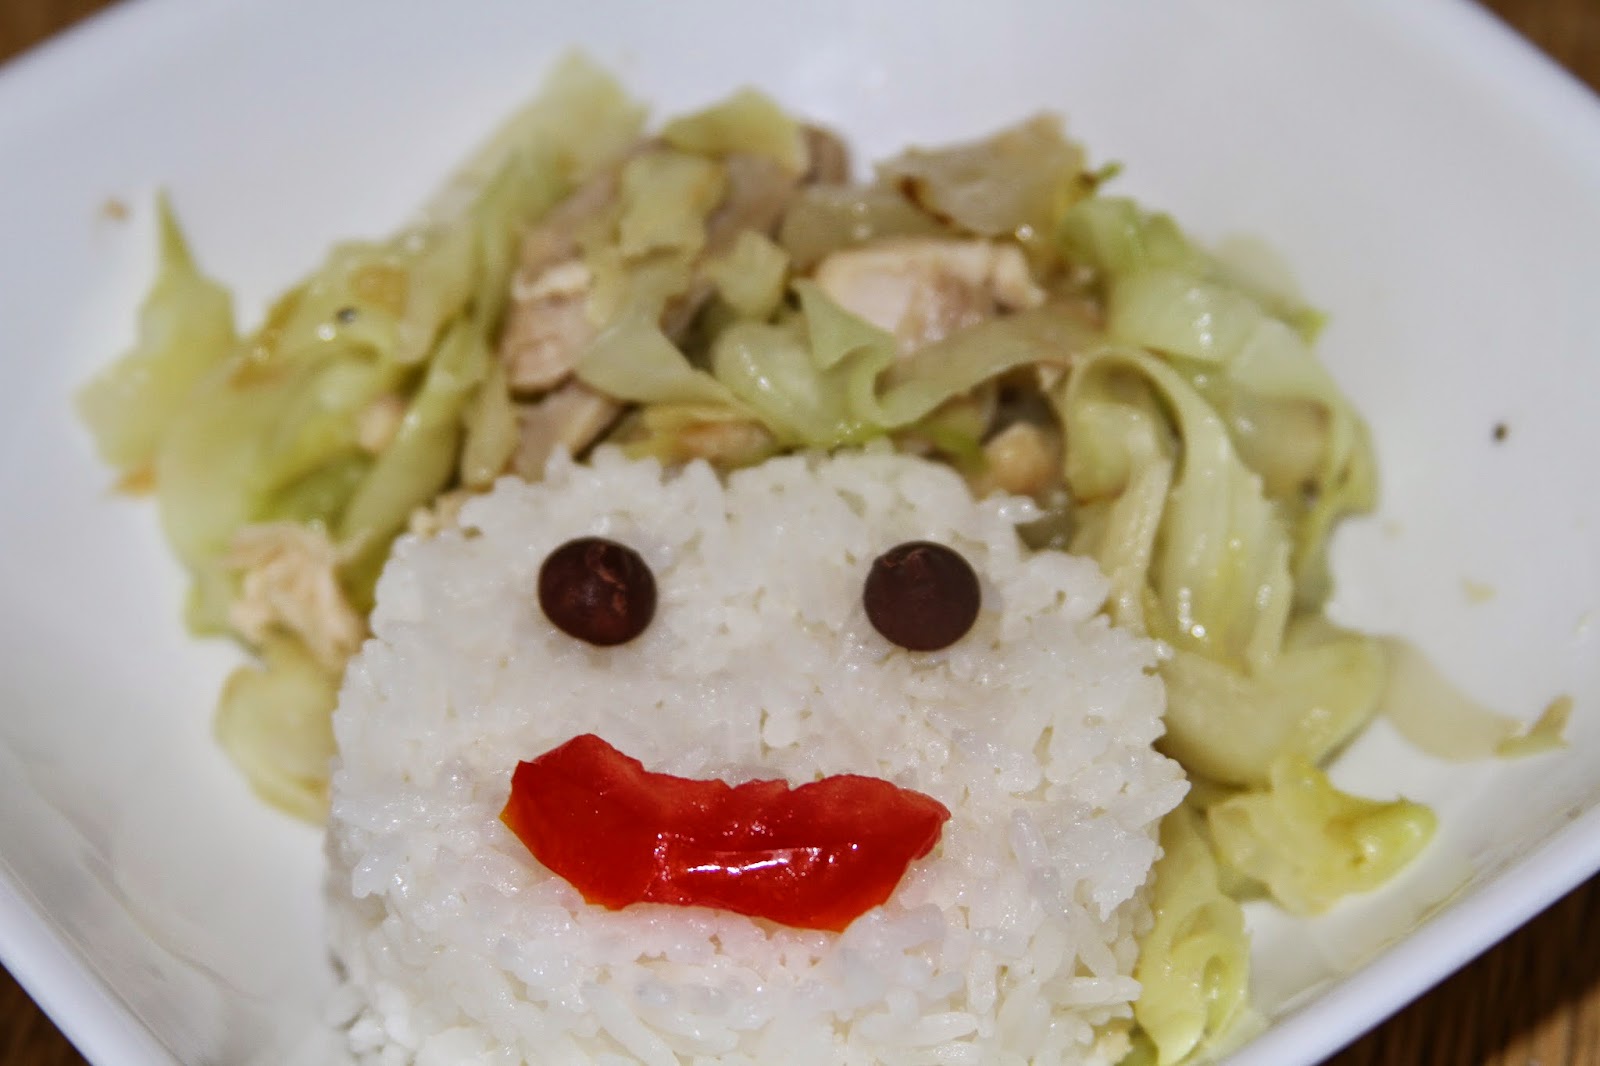
4. Used my 1/2 metal measuring cup and filled it with rice and then dump it on plate to make the face. Then decorated the face.  --The faces make eating much more interesting for the kids.  I used chocolate chips for the eyes, which the kids loved. Used tomato for lips and bow. My girl wants to make hers look like a girl so we added a bowl to the cabbage hair. Happy Eating!


Wednesday, August 6, 2014

DIY Easy Makeup Bag

I had some left over fabric scraps from a baby quilt I made.  Decided to turn them into a little bag for my makeup---to throw into my purse (Used the green scraps for this project). The zipper-- I got from Los Angeles at the Fashion District for .25 cent each. So this bag probably cost less than .50 cent.  So next time you are there, grab a whole bunch of zippers and fabric to make little bags. I think these would also be great as little gifts or gift bags if you don't end up using them for your make up, money, gadgets, etc.

STEPS
1. Cut 2 pieces of fabric to the length of the zipper and to how deep you want the bag.
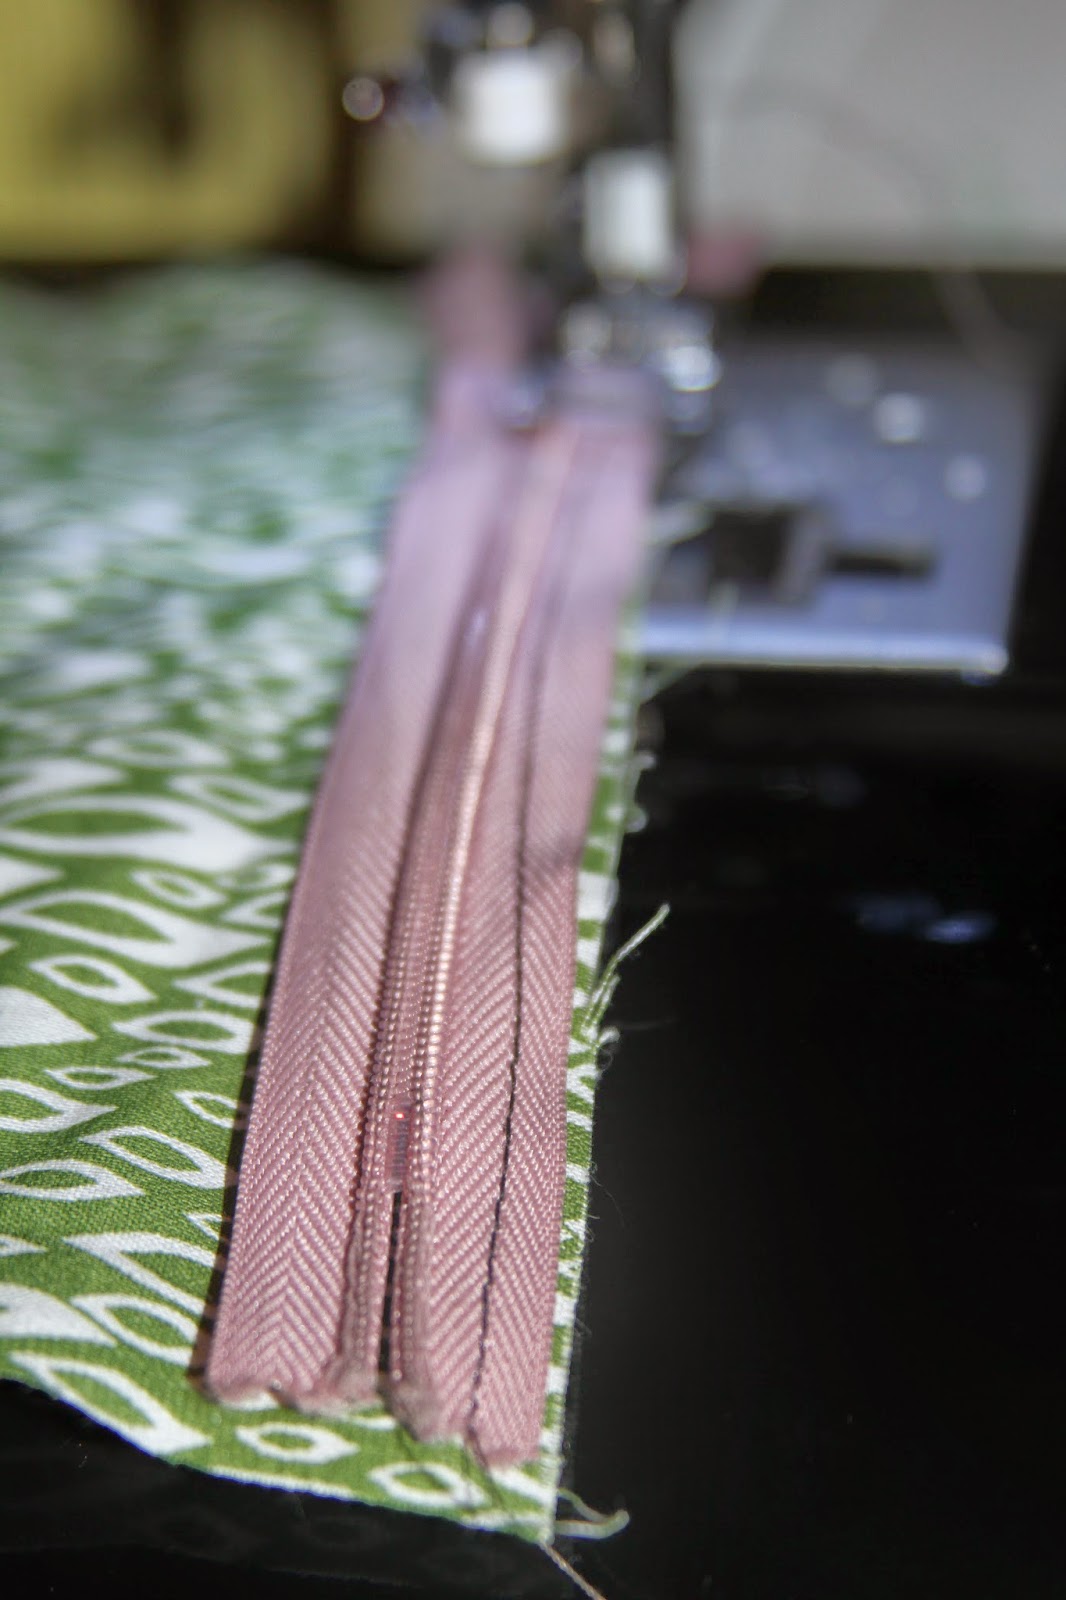
2. To sew on zipper, line the top of zipper  to the right side of the 1st piece of the fabric (aka printed side) and sew a straight line across like  the picture on left.  

3. Then sew the 2nd piece of the fabric on the other side of the zipper.


4. After the zippers are sewn on, sew on the sides and bottom.  Remember to unzip the zipper a bit before sewing all sides so you could pull the bag through.


Voila!!!! In less than 5 minutes, I got myself a make up bag. 
You could spend a little bit more time and sew another piece of fabric to line the inside.  But remember, I'm lazy so this is all the effort I will put in. 

Mason Jar Sewing Kit - the lazy DIY way

Saw this on Martha Stewart's website: http://www.marthastewart.com/272417/sewing-kit-in-a-jar
Since I'm no Martha Stewart and I do not have a hot glue gun, I did mine the lazy way.


First I put some toy stuffing on a piece of cloth and wrap it on the lid sealer and then push it through the screw cap.


Then cut around the cap and sew from corner to corner of the fabric to hold the cotton and cloth to the lid sealer.  Looks less appealing than Martha Stewart's, but this does the trick and it's as useful.


I will use this to hold my pins and teddy bear pattern. What I noticed is if you use a fabric that matches the color of the screw cap (the metal part of the lid that you still see), it'll turn out prettier.  Also, I've seen others paint the lid to match the fabric.

Tuesday, August 5, 2014

Chicken with Asparagus

I'm a lazy cook.  This is a fast and easy meal. Used the left over chicken marinated for the Healthy Spring Rolls (see previous post) and stir fried with asparagus (using olive oil) for dinner. This marinated chicken will also taste good stir fried with other vegetables such as cabbage, carrots, broccoli, or onions. It also tastes good stirred fried by itself with olive oil. Yummmm.


Monday, August 4, 2014

Healthy Chicken Spring Roll

Lunch for today was chicken spring rolls-- the kids love it.

Ingredients:
1. Chicken breasts
2. Marinating sauces/spices of your choice.
3. Lettuce of your choice
4. Olive Oil
5. Vermicelle Rice Noodle
6. Rice Paper

Steps:
1. Cut chicken breasts into thin strips and marinate with salt, hoisin sauce, soy sause, Maggi Seasoning sauce, and paprika.

2. Use olive oil to stir fry minced garlic and the chicken breasts.
3. Boil Rice Vermicelle and then drain water when ready--run through cold water and drain.

4. Set items on table to roll:
-lettuce
-chicken strip
-vermicelle
-rice paper
-bowl of warm water.

5. Ready to roll--- wet rice paper in warm water bowl for 10 or more seconds (depending on how hot your water is) then place rice paper on a plate and place lettuce, chicken, and vermicelle noodles on top before wrapping (fold in the two sides and then roll).  Other items that you might want to try to include in your wrap are: green onions, mint, carrots (shredded or long thin slices)


Voila!!
My dipping sauce for the spring rolls was a mixture of lemon juice, fish sauce, sweet chilli sauce, and peanut butter:

Sunday, August 3, 2014

DIY Teddy Bear

My son lost his teddy bear so here's my attempt at making him a brown teddy bear--- free pattern from www.funkyfriendsfactory.com
Did all this in 3 hours while my 2 month old was napping (and while tending to two other kids).

Picked up a .47 yard of remnant fleece on sale for $1.42.

Here's my outcome:


I only used small portion of the fabric to make a teddy bear about 9 inches long.


Here's my attempt at posting images. These are photos of my trip to China for a conference---things I remember:

A view from my window


Horrible traffic

And.... shaved ice

Welcome!

Hello! Welcome to my blog.  I'm a first time blogger trying to figure everything out. Bare with me and learn along with  me.  Feel free to leave comments as long as they are respectful of self and others.

Many times I will be typing with one hand/one finger/half brain while holding the baby or tending to the kids so spare me if grammar, spelling, spacing, etc failed me.

Thus far, I've learned to save and publish a post. Woohoo!

Best,
E