Sunday, February 1, 2015

Problem: Eczema/Solution: Eucerin Baby Eczema Releif

My last post on problem/solution seems to get 3 pageviews instead of 1 (Wowza! That's a lot!! hehehe) so here's another problem/solution post. 

Problem: Eczema
My 8 mo baby has a patch of eczema on her cheek that flares up (depending on what I eat--since she breastfeed).  

Solution: Eucerin Baby Eczema Relief (instant therapy creme) works for my baby. 
It works instantly--unlike Hydrocortisone.  Also, it is dye, fragrance, and steroid free.  I was afraid to use too much of hydrocortisone so I AM so glad that this Eucerin cream works. I've tried another lotion that others said works but it didn't work on my baby. Can't remember the name. I guess certain cream works for certain individuals.

I've only used it twice on my baby so let's see how it works in the long run.  Again, I'm only sharing what works for my kids.  It may not work for everyone. 

Where to get: Amazon or your local drug stores--over the counter. 


Thursday, January 29, 2015

Make your own whale soft toy pattern

I attempted a bigger version of the uniwhale.  See below for pictures and directions.


How to make your own pattern:
Figure 1


1. Draw the sides of the whale in the shape you would like.  You need 2 sides that are the same shape.
2. Draw a long slender triangle (length is the inches that will need to go around the dotted line A in the picture). This is the middle top section of the whale.

3. To draw bottom to fit, use the side of your whale to measure how long the bottom should be. See figure 2.  White is the bottom of whale folded next to the side of the whale.

Figure 2                                                 Figure 3

Sewing Direction:
After cutting your fabric, saw on the dotted line as shown in figure 1 with A to A, B to B, and so on..
I first start sewing with the side and the middle part (triangle part) and saw the A's together (see figure 3).  The large section of the middle (the triangle piece) goes on the head. The smaller section goes toward the tail.Then proceed to sew B of the other side to the B on the middle piece. Then, the bottom is sewn on, leaving a hole in the tale to pull the whale inside out.

You can't really go wrong with making a whale. I couldn't get the tail sewn correctly because I didn't pin the pieces-- so the tail did not line up correctly.   Improvised--- cut a tail fin shape from the fabric and attach it to the end.  Fleece is easy to work with and very forgiving. However, make sure you pin before sewing because fleece can stretch.  

Tuesday, January 27, 2015

Uniwhale Stuffed Toy

My kids love little surprises everyday.  Here's my daughter's surprise for today--a uniwhale!  All things she love--pink, whales, and uni-anything.  If you've searched for uniwhale online like I did, the name is attached to silly things such as a name of a perverted male and a surgically attached horned-whale which drives people away from Canada: http://wikiality.wikia.com/Uniwhale

Silly things aside, here's a picture of a simple uniwhale I made.  Made it in about 10 minutes-- so it's not perfect. 


This is perhaps the easiest stuffed toy I've attempted.  

I had to make the pattern (since nothing's for free online anymore).  Googled for patterns and then drew the pattern myself based on the images that I saw. Will post image of pattern later. 

Materials: Fleece for body/ Felt for horn/ black thread for eyes.

Here's a bigger version (2nd attempt) I made and posted under another post on how to make the pattern for the uniwhale (button eyes, felt flower on tail, and felt horn with yarn twirled around it) :


Monday, January 26, 2015

Solutions for Sour Pineapples and Soap Scums on Bath Tubs.

If you've been searching online for solutions, you may have encountered the ideas below.

Problem: Bought a Pineapple that is not ripe or too sour (I'm sure I'm not the only).
Solution: Turn it into Pineapple jam-- by just grinding the pineapple with it's core included and boil with sugar!  Used my Magic Bullet to grind.  Easy and delicious!
Recipe could be found at http://wendyinkk.blogspot.com/2011/01/homemade-pineapple-jam.html
This is one of my favorite food blog.

Jam from 1 pineapple

White bread pineapple jam roll


Problem: Tub full of soap scums and hard to scrub black scums on bottom of slip resistant tubs. Brother stayed a year with us and this is the result of his bath tub.

Solution: 1 cup warm white vinegar (microwaved for  30 sec by itself) mixed with 1 cup of Dawn dish detergent.  Spray onto surface.  Scrub all around with a brush and/or scour pad.  Let sit for 30 min to an hour and then scrub.  I've tried various solutions with no success but Vinegar and Dawn seemed to do the trick.  For this tub, I let it sit for 30 min., scrub, let sit for 1 hr, then scrub again.  The longer you let it sit, the better.

Before:

After:


Friday, January 16, 2015

Food for Kids with Teeth Extraction

One of my little one had a tooth extracted so all she wanted was pancakes and milk shakes.  I've tried various shakes that'd include protein, carbs, vegetables, and fruits---some taste delicious while others were puke worthy. Worst idea for shakes so far was blending boiled eggs with oatmeal----yuck!!! Makes me want to puke just thinking about it. (Disclaimer: I'm no dietitian or health expert. Just a mom making sure her child doesn't go hungry. Consult your own expert if needed).

See below for what tastes delicious out of all my mixes.  I just eye ball everything so my measuring below my be a little off.

Carrot and Strawberry Pancake Breakfast Recipe (protein, carb, fruits and vegetable--yum!):

1 cup of pancake mix (of your choice)
1/4 cup milk (or as needed to get the right consistency--since I just eye-ball mine)
1 egg
4-5 baby carrots (those ready to munch ones from the store).
2-3 strawberries (sliced).


Steps:
1. Put 1 egg and carrots in a blender and blend till smooth.
2. In a big bowl, pour in your pancake mix, milk, mixture with egg and carrots --then mix till blended.
3. Then fold in the slices of strawberries into the mixture.
4.  Heat your skillets and cook away!
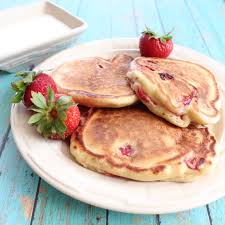
(I didn't take any pictures but the pancakes look like the image above--a creation of the following blogger--http://littleleopardbook.com/recipes/breakfast-i-brunch/)

Milk shakes when she doesn't want to eat anything else:

1. 1/4 cup Milk
2. 1/2 cup yogurt (strawberry flavor)
3. 4-5 sweet grape tomatoes
4. 4-5 carrots
5. a little bit of orange juice (about 1/3 cup)
6. 8-10 leaves of raw spinach
7. Blend all together until smooth then serve (remember no using straws on the day of extraction--after getting tooth extracted, that is)

Other variations of our milkshakes include adding the following to the above mix as well.
-tofu
-banana
-vanilla extract


Enjoy!  If you haven't noticed by now, I'm an amateur blogger and DIYer so may patience and kindness be with you. :)

Wednesday, December 3, 2014

Pumpkins Growing on Tree

Just wanted to post a picture of my pumpkins hanging on my peach tree.  The pumpkin plants climbed the tree and now I have pumpkins hanging from the tree.  This is partly due to my laziness, but it all works out just fine.

How to achieve this the lazy way?----Dump pumpkin seeds and skins outside on soil to compost. They grow wherever they want to grow and climb where ever they want to climb. Hehehe!


Lego Box ---No Mess!

My son loves Legos, angry birds, and minecraft, but he hates picking up his toys.  So after numerous attempts at getting him to pick up and a few searches online, I found some ideas from other bloggers.  Below is a lego box that my husband built for my son, a modified version of what I saw online.  The one online had many compartments to separate the legos and toys, but knowing my son, he's not going to separate them so we just made it 2 sections.  One side for storage and one side to play. When he's done playing, he just need to push the box under the sofa. No need for cleaning up.  Before the box, he'd dump all of his legos and angry birds in the living room and when he's done playing, he'd leave them around or he's not able to pick all of small pieces up----many end up in the vacuum cleaner.  He's excited about not having to clean up his toys anymore.

Husband started by building a simple box.  We bought 2 precut panels (23.75inX47.75in) from Home Depot (~$14). The panel used on the bottom is thinner than the panel that was cut to used on the sides.

 Bought some fasteners and corner brace (~$3) to attach the sides. The nails were longer than the wood panel, so he had to cut a piece of the nail off.  And then he nailed to side panels to the bottom panel with very thin, small nails.

 Stained and protected the wood with Danish Oil (~$14)
The project took him about 2 hours and cost us around $50 because we had to purchase everything that was used.


Thursday, August 14, 2014

Easy DIY Elsa's Dress (Frozen)

Here's my attempt at Elsa's dress for my daughter. This DIY is for those who do not have sewing skills like me--and has a little girl who keeps asking for an Elsa dress. It's not perfect but your little one will look so cute with her hair all braided and singing "Let It Go" in her own little Elsa dress.

Got fabric from Joann's fabric store.  Both fabrics used do not fringe so all I needed to do was cut and sew. Also both fabrics were light weight and elastic--flowy and comfortable. The see-through white fabric felt and looks like those that they used to sew under skirt slips-- it's soft and not scratchy like the other see through materials.


Dress--it's just a tube dress:
1. Cut a rectangle to make a dress to fit your little one.
2. Fold about .5 - 1 inch on top of the rectangle and sew straight line across --leaving enough space in between to fit your rubber band.
3. Cut two triangles and sew to make straps for shoulder (note that the tip of the triangle is sewn to the back, while the base of the triangle is sewn to the front).
4. Attached the cape to the tube dress.

Voila!!!
I didn't capture the process with my camera and I know my directions may be hard to follow so ask questions in the comment section if needed and I'll clarify.  But if you're like me, I never follow directions. I just look at the picture and improvise. Have fun!!!! Would love to see everyone's Elsa dress for their little one.


Thursday, August 7, 2014

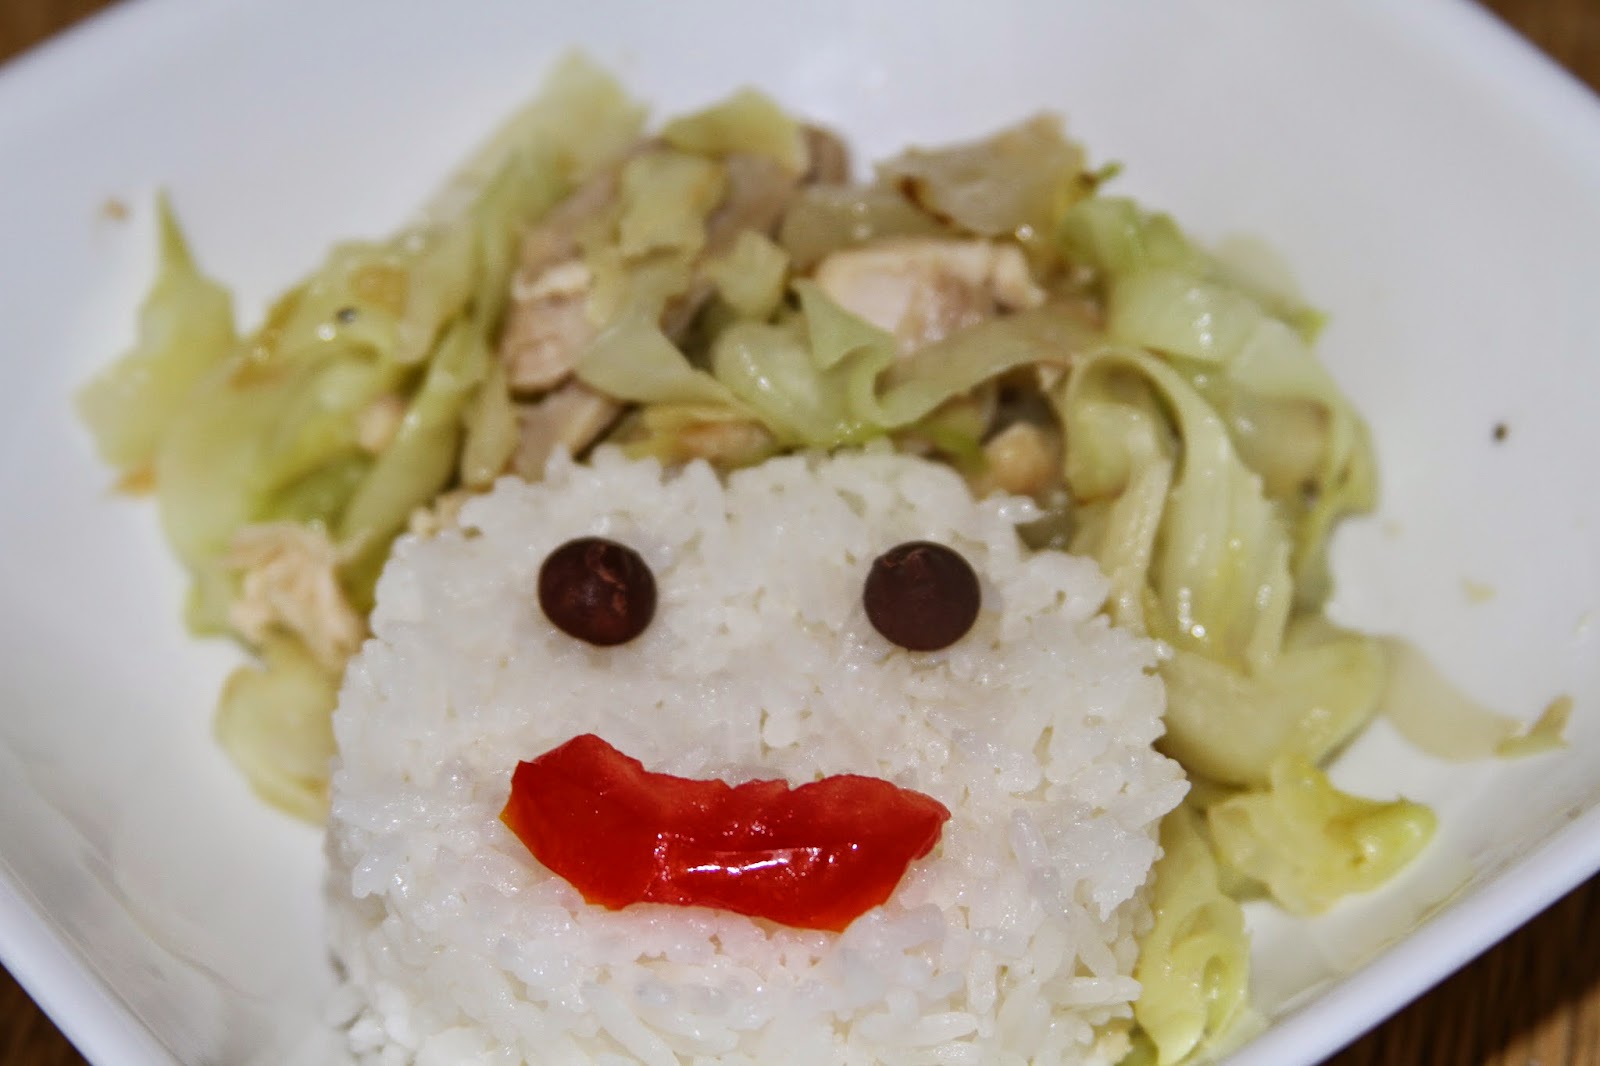
Chicken and Cabbage Stir Fry --Easy Meal for Kids

1. Heat pan with olive oil, than add sliced yellow onions.
2. When onions soften, stir in sliced cabbage and add salt to taste.
3. When cabbage softens, stir in sliced cooked chicken (I use store bought roasted chicken--to limit my time at cooking).
4. Used my 1/2 metal measuring cup and filled it with rice and then dump it on plate to make the face. Then decorated the face.  --The faces make eating much more interesting for the kids.  I used chocolate chips for the eyes, which the kids loved. Used tomato for lips and bow. My girl wants to make hers look like a girl so we added a bowl to the cabbage hair. Happy Eating!


Wednesday, August 6, 2014

DIY Easy Makeup Bag

I had some left over fabric scraps from a baby quilt I made.  Decided to turn them into a little bag for my makeup---to throw into my purse (Used the green scraps for this project). The zipper-- I got from Los Angeles at the Fashion District for .25 cent each. So this bag probably cost less than .50 cent.  So next time you are there, grab a whole bunch of zippers and fabric to make little bags. I think these would also be great as little gifts or gift bags if you don't end up using them for your make up, money, gadgets, etc.

STEPS
1. Cut 2 pieces of fabric to the length of the zipper and to how deep you want the bag.
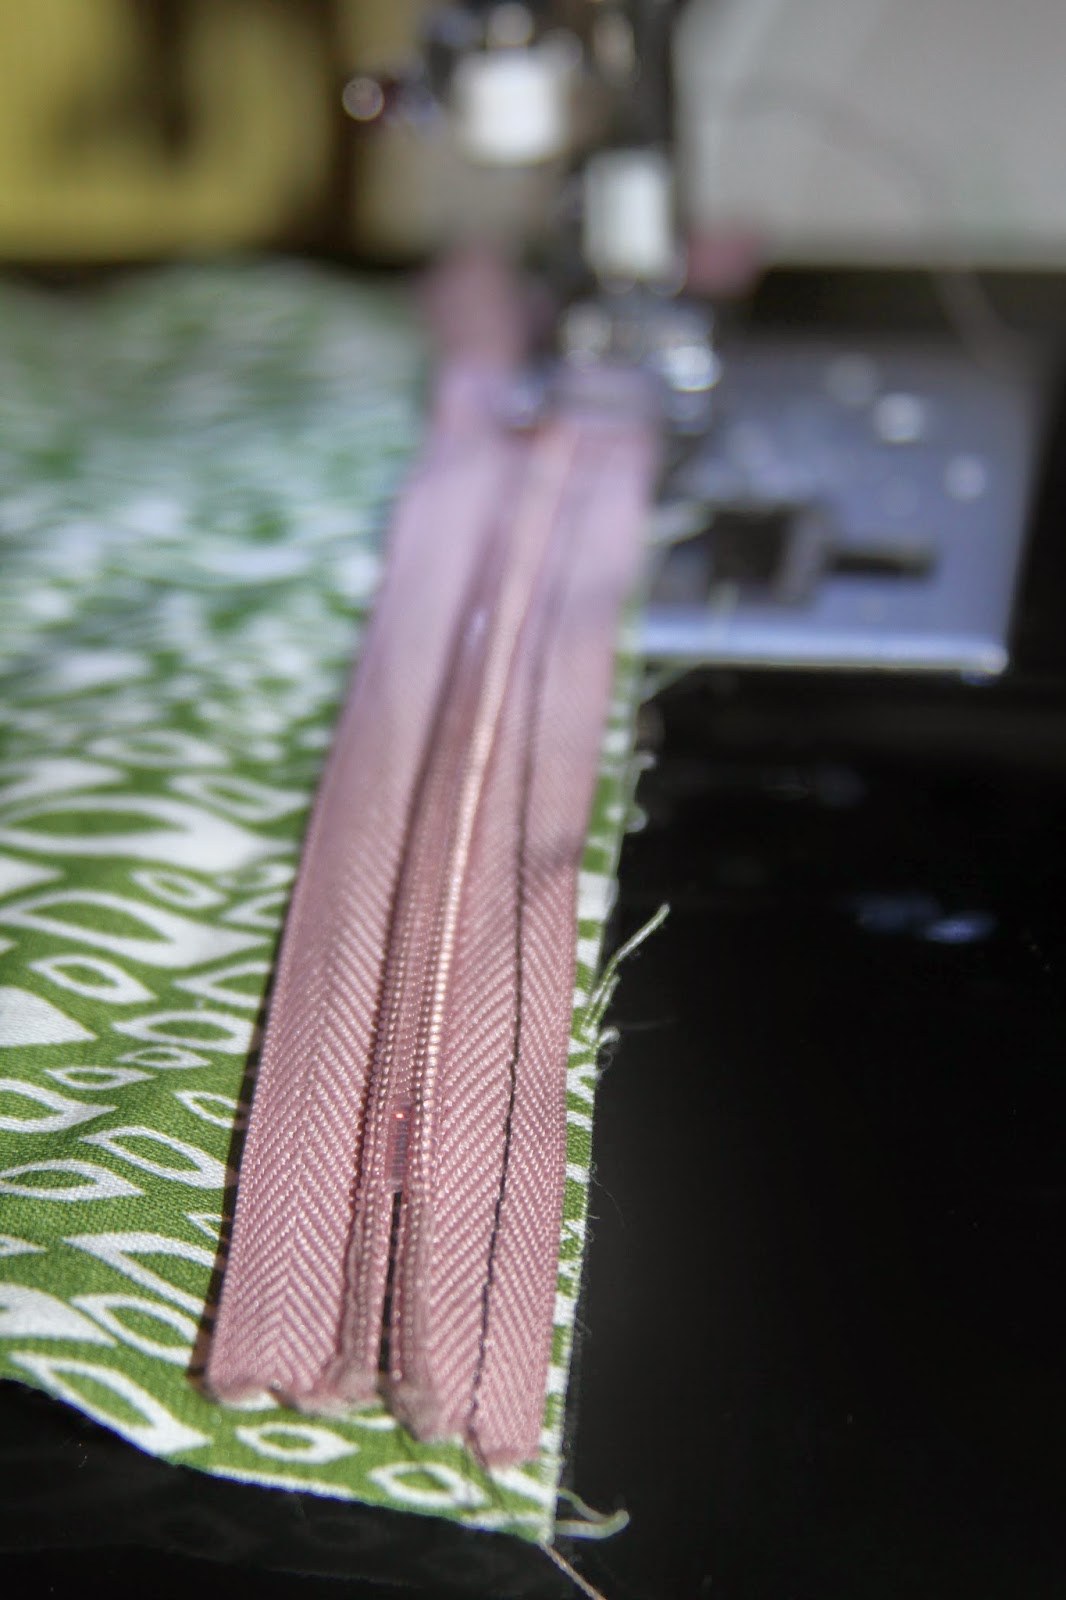
2. To sew on zipper, line the top of zipper  to the right side of the 1st piece of the fabric (aka printed side) and sew a straight line across like  the picture on left.  

3. Then sew the 2nd piece of the fabric on the other side of the zipper.


4. After the zippers are sewn on, sew on the sides and bottom.  Remember to unzip the zipper a bit before sewing all sides so you could pull the bag through.


Voila!!!! In less than 5 minutes, I got myself a make up bag. 
You could spend a little bit more time and sew another piece of fabric to line the inside.  But remember, I'm lazy so this is all the effort I will put in. 

Mason Jar Sewing Kit - the lazy DIY way

Saw this on Martha Stewart's website: http://www.marthastewart.com/272417/sewing-kit-in-a-jar
Since I'm no Martha Stewart and I do not have a hot glue gun, I did mine the lazy way.


First I put some toy stuffing on a piece of cloth and wrap it on the lid sealer and then push it through the screw cap.


Then cut around the cap and sew from corner to corner of the fabric to hold the cotton and cloth to the lid sealer.  Looks less appealing than Martha Stewart's, but this does the trick and it's as useful.


I will use this to hold my pins and teddy bear pattern. What I noticed is if you use a fabric that matches the color of the screw cap (the metal part of the lid that you still see), it'll turn out prettier.  Also, I've seen others paint the lid to match the fabric.

Tuesday, August 5, 2014

Chicken with Asparagus

I'm a lazy cook.  This is a fast and easy meal. Used the left over chicken marinated for the Healthy Spring Rolls (see previous post) and stir fried with asparagus (using olive oil) for dinner. This marinated chicken will also taste good stir fried with other vegetables such as cabbage, carrots, broccoli, or onions. It also tastes good stirred fried by itself with olive oil. Yummmm.


Monday, August 4, 2014

Healthy Chicken Spring Roll

Lunch for today was chicken spring rolls-- the kids love it.

Ingredients:
1. Chicken breasts
2. Marinating sauces/spices of your choice.
3. Lettuce of your choice
4. Olive Oil
5. Vermicelle Rice Noodle
6. Rice Paper

Steps:
1. Cut chicken breasts into thin strips and marinate with salt, hoisin sauce, soy sause, Maggi Seasoning sauce, and paprika.

2. Use olive oil to stir fry minced garlic and the chicken breasts.
3. Boil Rice Vermicelle and then drain water when ready--run through cold water and drain.

4. Set items on table to roll:
-lettuce
-chicken strip
-vermicelle
-rice paper
-bowl of warm water.

5. Ready to roll--- wet rice paper in warm water bowl for 10 or more seconds (depending on how hot your water is) then place rice paper on a plate and place lettuce, chicken, and vermicelle noodles on top before wrapping (fold in the two sides and then roll).  Other items that you might want to try to include in your wrap are: green onions, mint, carrots (shredded or long thin slices)


Voila!!
My dipping sauce for the spring rolls was a mixture of lemon juice, fish sauce, sweet chilli sauce, and peanut butter:

Sunday, August 3, 2014

DIY Teddy Bear

My son lost his teddy bear so here's my attempt at making him a brown teddy bear--- free pattern from www.funkyfriendsfactory.com
Did all this in 3 hours while my 2 month old was napping (and while tending to two other kids).

Picked up a .47 yard of remnant fleece on sale for $1.42.

Here's my outcome:


I only used small portion of the fabric to make a teddy bear about 9 inches long.


Here's my attempt at posting images. These are photos of my trip to China for a conference---things I remember:

A view from my window


Horrible traffic

And.... shaved ice

Welcome!

Hello! Welcome to my blog.  I'm a first time blogger trying to figure everything out. Bare with me and learn along with  me.  Feel free to leave comments as long as they are respectful of self and others.

Many times I will be typing with one hand/one finger/half brain while holding the baby or tending to the kids so spare me if grammar, spelling, spacing, etc failed me.

Thus far, I've learned to save and publish a post. Woohoo!

Best,
E